Announcement

Collapse
No announcement yet.

One of my favorite movies this year... CODA

Collapse
X
 
  • Filter
  • Time
  • Show
Clear All
new posts

    One of my favorite movies this year... CODA

    Hiya,

    Just f/yi...

    1. Used StreamFab for Apple+ to get CODA at 862x466 1,511 kb/s video.
    2. Extracted to SRT using ffmpeg -i "File Source".mp4 "File Source".srt
    3. Used Topaz 3.0.5 to Enhance original to same size with Progressive Model using settings:

    ~ 2 1/2 hours runtime

    (average of 25 "Manual" samplings below)

    27 Revert Compress
    15 Recover Details
    8 Sharpen
    3 Reduce Noise
    7 Dehalo
    -15 Antialias/Deblur
    1 Add Noise
    1 Grain Amount
    H264 High
    8 Mb/s
    Audio Auto

    4. Used Topaz 3.0.5 to upscale enhanced file to 1280x720 (see attached 1)​ ~ 2 1/2 hours.
    5. Used MKVToolNix Gui v72.0.0 (Freeware at Fosshub.com) to re-insert .SRT into Enhanced/Upscaled 1280x720 file (see attached 2 - generic example, I used Coda.mp4 files)
    A. Multiplexing option - Added Enhanced/Upscaled file using "add files"
    B. Multiplexing option - Added .srt file using add files.
    C. Multiplexing option - checked how I wanted file to combine in Tracks, Chapters & tags box.
    6. Ran resulting file thru DVDFab convert to .mp4 H265 (see attached 3)

    Great resulting enhanced/upscaled Apple+ source. (see attached 4)

    Nice for using with Hulu too.

    Mike

    PS: If you have an older TV that doesn't display the subtitles when playing thru a USB port, you can either:

    1. Put the .srt file in the same directory of the movie on the USB drive using the same name (worked on my 55 inch Samsung 2003 model)
    2. Look at imbedding subtitles permanently in file, VLC does this (with lots of steps) -

    How to imbed subtitles permanently into video
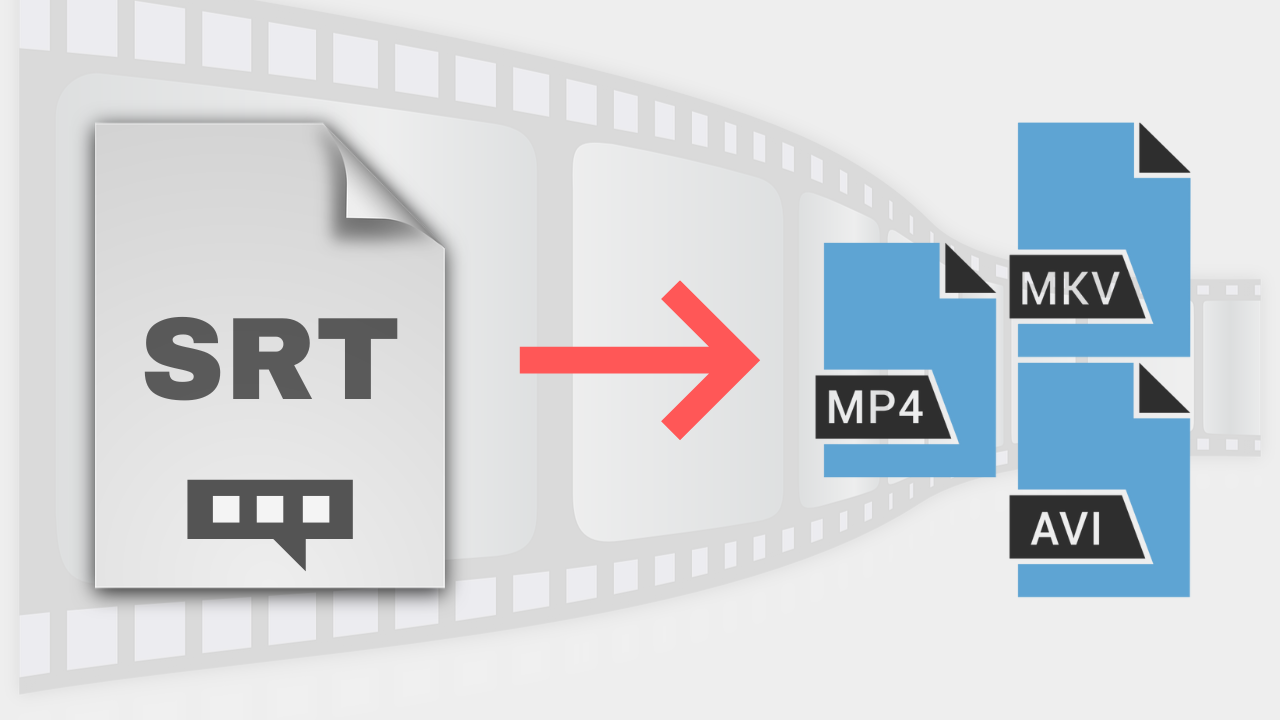
    These step-by-step tutorials will show you how to merge subtitles with any video permanently. This works for MP4, MKV, AVI, and other video files.


    US -CST, No VPN, Win10/64Pro & Win11/64 Pro, RTX 3080ti, 32gb Ram, Current StreamFab, Current DVDFab
    Attached Files
    Last edited by Mike_M; 12-04-2022, 02:57 AM.

    #2
    Originally posted by Mike_M View Post

    PS: If you have an older TV that doesn't display the subtitles when playing thru a USB port, you can either:

    1. Put the .srt file in the same directory of the movie on the USB drive using the same name (worked on my 55 inch Samsung 2003 model)
    2. Look at imbedding subtitles permanently in file, VLC does this (with lots of steps) -

    How to imbed subtitles permanently into video
    https://www.easytechguides.com/merge...rmanently/#vlc
    Followup,

    I ended up using VLC option in above link for encoding subtitle into movie.

    It embedded Subtitle into CODA and plays fine on my older Samsung 55inch 2003 TV thru USB port without having to trick it into working by also including .srt file in same directory with same name as movie on USB.

    I normally don't use subtitles and had to learn this stuff today, because CODA (Child of Death Adult) pretty much requires you have subtitles in order to enjoy it.

    But is well worth doing and watching.

    I'm sure some of you that use subtitles a lot have other methodologies that you like for doing subtitle's that may be easier and better than what I did.

    Feel free to chime in.

    I mainly wanted to show the steps and stuff for 720p files (and less in this case of Apple+ 862x466 with 1,511 kb/s video) that can be processed and enhanced/upscaled.

    My comfortable target resolution is usually 1080p, but with hardware upscaling also via Roku Ultra USB port, the 1280x720 is just fine for this file.

    Topaz AI pretty much requires you do enhancement and upscaling in two different steps.

    1. Enhance the original with models/parameters to same size, then
    2. Upscale to desired resolution (mine being 1080p)

    I'm a newbie using it, but am getting some great results that are better than the original files at higher resolutions with AI enhancements.

    I don't use Apple+ very much and will subscribe to it for a short time for the few offerings it has that I desire.

    Used to be the same for HULU, but since they gave it to me for ~$5 a month for 1/2 year when I went to cancel it, keeping it for now.

    I've done this enhancement/upscaling on some of my favorite movies from the past (did original Philadelphia Experiment yesterday) and like I mentioned previously, it's like watching a whole new movie.

    This enhancement/upscaling via Topaz Ai can have multiple sessions running, I'm very comfortable with 2 at a time minimized/background that has absolutely no effect on my usage on all other programs/downloading/etc...

    One incidence at a time usually only takes about 1/3 of GPU - when I run two I did notice that they must be hitting against each other and add about an hour to the processing.

    But 2 at a time will run for ~ 3 1/2 hours total and if I ran them one at a time it'd be 5 hours (~2 1/2 hours processing x 2).

    Just some detail for those considering.

    Topaz AI is still having their Black Friday/Cyber Monday price of $159 (1/2 of normal) plus using coupon code (DSCC15 for December I believe) knocks it down to $135.15 and this includes taxes.

    Spirited (360p?! 862x360 1,508 kb/s) also from Apple+ enhanced/upscaled today to 1280x720 5,472 kb/s H265. (see attachments)

    Just fyi.


    Mike

    US CST, No VPN, Win 10/64 Pro, Win 11/64 Pro, 32gb Ram, RTX 3080ti, Cpu I7 12,700k (not overclocked), latest Nvidia Studio/Game Drivers, Latest StreamFab and DVDFab versions.


    Attached Files
    Last edited by Mike_M; 12-04-2022, 05:35 AM.

    Comment


      #3
      Been scratching my head trying to find out how you are able to set up those parameters with V3.0.5

      Enhance original to same size with Progressive Model using settings:

      (average of 25 "Manual" samplings below)

      27 Revert Compress
      15 Recover Details
      8 Sharpen
      3 Reduce Noise
      7 Dehalo
      -15 Antialias/Deblur
      1 Add Noise
      1 Grain Amount
      H264 High
      8 Mb/s
      Audio Auto

      Somehow you are still able to do that in the Enhancement section with your version of V3.0.5 under 'Relative to Auto' but that parameter section ​has been replaced with an 'Input Video Condition' tab not needing to enhance the video at first then turn around and upscale it.

      Comment


        #4
        Originally posted by Down2Earth View Post
        Been scratching my head trying to find out how you are able to set up those parameters with V3.0.5
        Hi Down2Earth,

        I launch V3.0.5, and change the Auto/Relative to Auto to "Manual" (see attached)

        Then I use the "Estimate" button below it to do about 25 Estimates of what the settings should be at different points in the video and input those in an Excel Spreadsheet that averages the 25 Estimates.

        After doing that, Keeping it on "Manual" I manually enter the averaged value in each one.

        This has resulted in a better output for me because it will catch different atmospheres within a video such as light, dark, action, outdoors, indoors, etc.

        In addition to that, I always change Add Noise to 1 and Grain to 1 since I'm only gonna upscale to 1080p and I read from other users that doing these helps with quality and some other current issues you might encounter.

        Also H265 is currently having some issue and users advise to choose H264 until corrected.

        I do that then convert afterwards using DVDFab to H265 at about a 60% reduced bitrate of the H264 bitrate.

        Hope this helps!

        Mike
        Attached Files
        Last edited by Mike_M; 12-04-2022, 06:43 PM.

        Comment

        Working...
        X